


Last weekend I was free and bored, so I decided to refresh my Blazor skills and build something small and funny. I decided to make and made a simple stupid game "find dissimilar emoji".
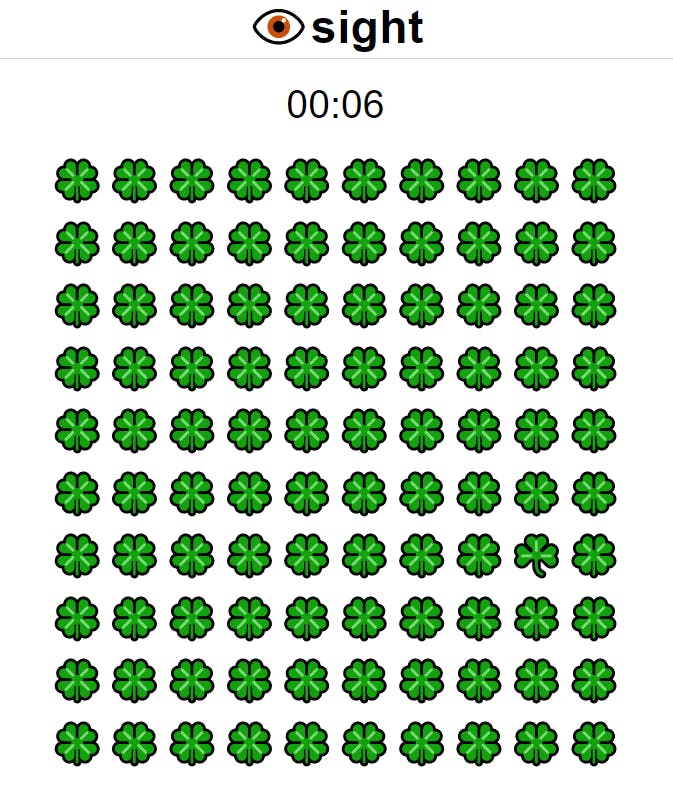
Part of the game was a countdown on top, which is a separate Blazor component I made.
In this article, I will demonstrate to you how to create an easy Blazor countdown component. A full code of component available here.
Intro
A component is a self-contained portion of the user interface (UI) with processing logic to enable dynamic behavior.
Let's deep dive into this component to understand how it works and how you could make the same countdown for your Blazor app.
The countdown component consists of several parts:
- HTML Markup
- C# code
- CSS styles
Which could be isolated into separate files
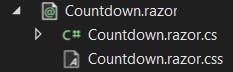
Countdown.razorCountdown.razor.csCountdown.razor.css
Or it could be combined into a single Countdown.razor file for simplicity. But for me, isolation is a better practice, especially if I plan to expand the component further.
When we isolate code into separate files with proper naming Visual Studio will combine them under one nifty tree
HTML Markup
For markup, we have a div container and a h1 item inside of it to make our countdown big enough. We will make our container flex with CSS later to easily center our timer.
Time will be our property to hold the string value of the timer.
<div class = "clock">
    <h1>@Time</h1>
</div>
C# code
First, we need to declare the timer, field to store seconds left, and Time property for the UI part. For the timer itself dotnet provide us with several options, we will use System.Timers.Timer as the simplest one.
    private System.Timers.Timer _timer = null!;
    private int _secondsToRun = 0;

    protected string Time { get; set; } = "00:00";
To properly use it we need a Start and Stop methods to launch the timer and some kind of callback to handle time out. Note that we should manually call here StateHasChanged to notify Blazor that the component needs to redraw. This is because we call Start programmatically by code.
    [Parameter]
    public EventCallback TimerOut { get; set; }

    public void Start(int secondsToRun)
    {
        _secondsToRun = secondsToRun;

        if (_secondsToRun > 0)
        {
            Time = TimeSpan.FromSeconds(_secondsToRun).ToString(@"mm\:ss");
            StateHasChanged();
            _timer.Start();
        }
    }

    public void Stop()
    {
        _timer.Stop();
    }
The TimerOut event has an additional attribute - Parameter to make it accessible from outside of the component.
We need to set up the timer, we could make it in the OnInitialized event override
    protected override void OnInitialized()
    {
        _timer = new System.Timers.Timer(1000);
        _timer.Elapsed += OnTimedEvent;
        _timer.AutoReset = true;
    }
This timer will exist in the scope of a single user (because it's owned by a component, which is owned by a page, which exists in the scope of a single-user connection). It will tick every second, firing OnTimedEvent until stopped.
The event should decrease the number of seconds left, update the Time value and check if the timer is out to stop it and fire TimerOut event.
    private async void OnTimedEvent(object? sender, ElapsedEventArgs e)
    {
        _secondsToRun--;

        await InvokeAsync(() =>
        {
            Time = TimeSpan.FromSeconds(_secondsToRun).ToString(@"mm\:ss");
            StateHasChanged();
        });

        if (_secondsToRun <= 0)
        {
            _timer.Stop();
            await TimerOut.InvokeAsync();
        }
    }
Because the callback is invoked outside of Blazor's synchronization context, the component must wrap the logic of OnTimedEvent in ComponentBase.InvokeAsync to move it onto the renderer's (UI) synchronization context. StateHasChanged can only be called from the renderer's synchronization context and throws an exception otherwise. We do not care in what context the timer stops, so we could not wrap it.
And finally System.Timers.Timer need to be properly disposed with the component. For that, we implement IDisposable interface in our class.
public partial class Timer : ComponentBase, IDisposable
{
    ...

    public void Dispose()
    {
        _timer.Dispose();
    }
}
CSS styles
For style, we go for a simple flexbox with centered content. No additional styles are required right now. Timer.razor.css file will be bundled into {ASSEMBLY NAME}.styles.css file and included in your application.
.clock {
    color: var(--color-tone-1);
    font-family: sans-serif;
    display: flex;
    justify-content: center;
    align-items: center;
    flex-grow: 1;
    overflow: hidden;
}
Usage
To use the component we simply add it to our page
<Countdown @ref="timer" TimerOut="TimerOutCallback"/>
With @ref attribute we obtain a reference to an HTML element, which we could use to call our Start and Stop methods. For example, we could start the timer after the page is rendered and display a message after it is timed out.
    protected override void OnAfterRender(bool firstRender)
    {
        if (firstRender)
        {
            timer.Start(10);
        }
    }

    protected Shared.Countdown timer;

    private void TimerOutCallback()
    {
        ...
    }
Conclusion
That concludes our countdown component. There is not much left to be done to improve codebase of it.
The visuals of the countdown might be improved but here is a catch: Blazor is not very suitable to work with CSS animation as JS does.
It is definitely possible but requires either a lot of "hacks" or JS functions to call from Blazor. Maybe one day I will deep dive into it.